Roof Installation in Wichita KS is a significant project that requires careful planning, skilled labor, and quality materials to ensure a durable and long-lasting roof. Here’s a comprehensive guide on the roof installation process:
1. Inspection and Assessment:
- Begin by inspecting the existing roof to assess its condition and identify any underlying issues such as leaks, damage, or structural problems. Determine if a complete roof replacement is necessary or if repairs can suffice.
2. Choose Materials:
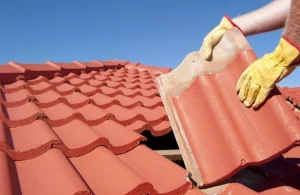
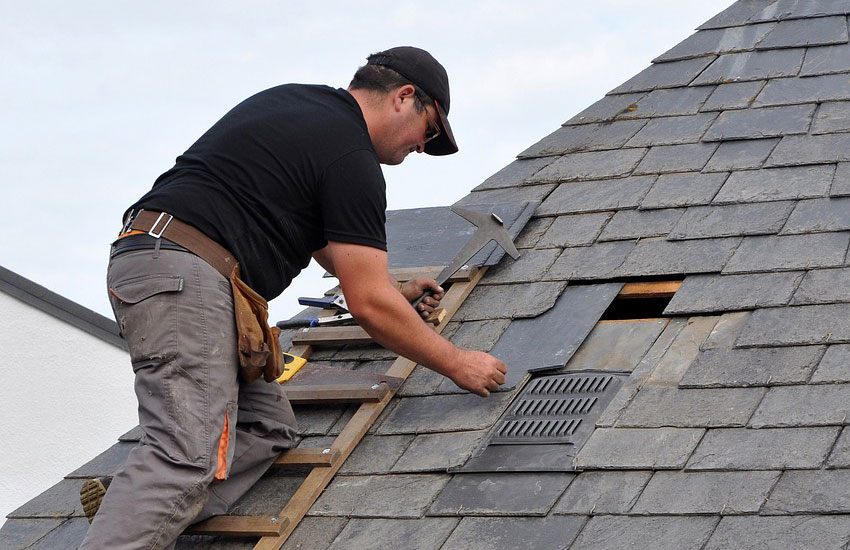
- Select the appropriate roofing materials based on factors such as durability, climate, aesthetics, and budget. Common roofing materials include asphalt shingles, metal roofing, tile roofing, wood shakes, and slate.
3. Obtain Permits:
- Check with your local building department to determine if permits are required for the roof installation project. Obtain necessary permits and ensure compliance with local building codes and regulations.
4. Preparation:
- Prepare the site by clearing debris, removing old roofing materials, and ensuring proper ventilation in the attic space. Install drip edge flashing along the edges of the roof to prevent water damage.
5. Installation of Underlayment:
- Install a waterproof underlayment over the roof decking to provide an additional layer of protection against moisture. Common underlayment materials include felt paper or synthetic membrane.
6. Installation of Roofing Materials:
- Begin installing the roofing materials according to the manufacturer’s instructions and recommended installation practices. Ensure proper alignment, overlap, and fastening of the roofing materials to prevent leaks and ensure structural integrity.
7. Flashing Installation:
- Install flashing around roof penetrations such as chimneys, vents, skylights, and valleys to prevent water infiltration at vulnerable areas. Use durable materials such as metal flashing and sealants to create watertight seals.
8. Ridge Vent Installation:
- Install ridge vents along the peak of the roof to allow for proper attic ventilation and airflow. Ridge vents help regulate temperature and humidity levels in the attic, reducing the risk of moisture-related problems.
9. Ventilation and Insulation:
- Ensure proper ventilation and insulation in the attic space to improve energy efficiency and prevent heat buildup. Install soffit vents, ridge vents, and baffles to promote airflow and prevent moisture buildup.
10. Cleanup and Inspection:
- Clean up debris and waste materials from the roof installation process, including nails, shingle scraps, and packaging materials. Conduct a final inspection of the roof to ensure that the installation has been completed to a high standard and meets manufacturer specifications.
11. Maintenance and Warranty:
- Develop a regular maintenance schedule to keep the roof in good condition and extend its lifespan. Follow manufacturer recommendations for maintenance and care, and keep records of any repairs or inspections performed.
- Ensure that the roofing materials are covered by a manufacturer warranty, and inquire about warranties offered by the roofing contractor for workmanship and installation.
By following these steps and working with experienced roofing professionals, you can ensure a successful roof installation project that provides durable protection and enhances the curb appeal of your home. A well-installed roof is essential for safeguarding your property against the elements and maintaining its value over time.